Thinking outside the box…or the bar stool.

I recently saw a link on Pinterest for this blog: http://tatteredandinked.blogspot.com/2011/08/dont-throw-that-old-stool-out-make-it.html.  The woman that writes this blog, had made a table out of an old bar stool that she had.  I thought that I could do that and pinned the site to my board.

Image

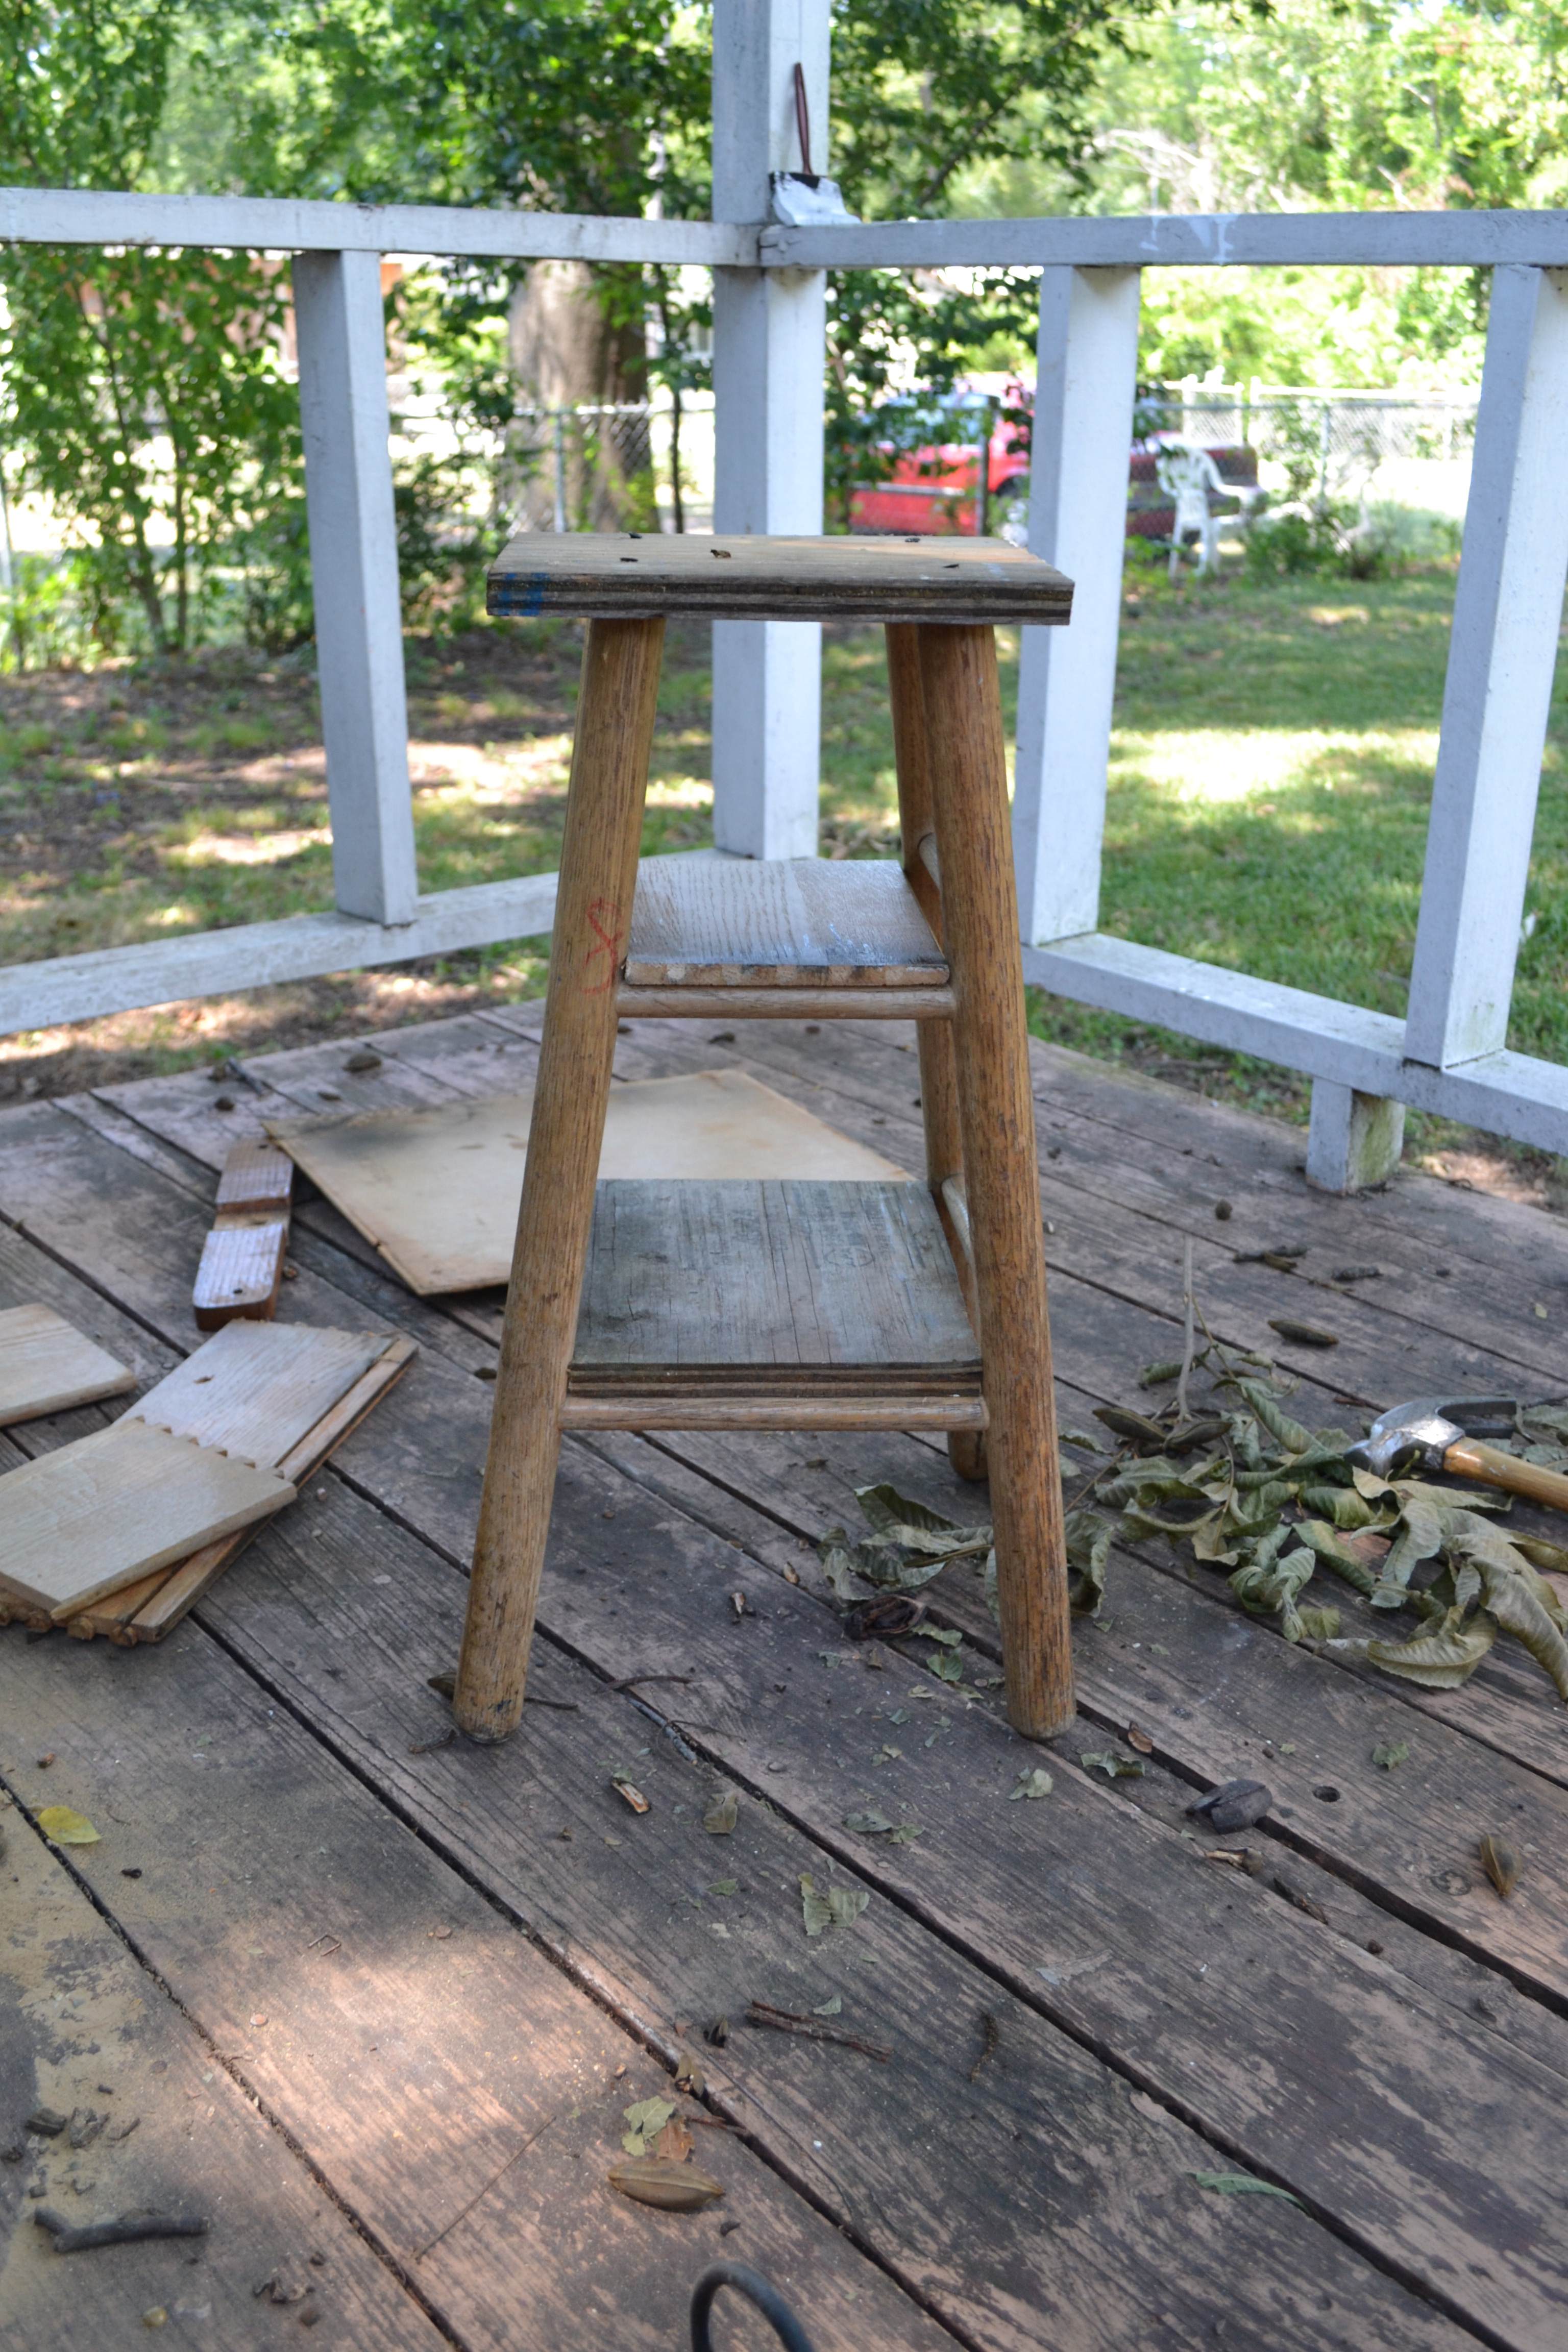
A few days later I found the bottom part of an old bar stool that someone had thrown out.  The top had been made out of chip board and fell apart before I got it in the car.  Later that I day I found a round table top that someone had also thrown out.  I took this as a sign that I find too much crap that I should go ahead and see if I could make my own version of the table.

Image

I knew that I needed to make a stable base for the table top to rest on, so I cut a 10×10 inch square out of some scrap wood. (Side note – the saw that I use to cut small pieces of wood is one that was given to me by a good friend who lost his battle with cancer last year.  Now every time I use it to cut a piece of wood, I think of Mr. Mike…and I smile.)

Image

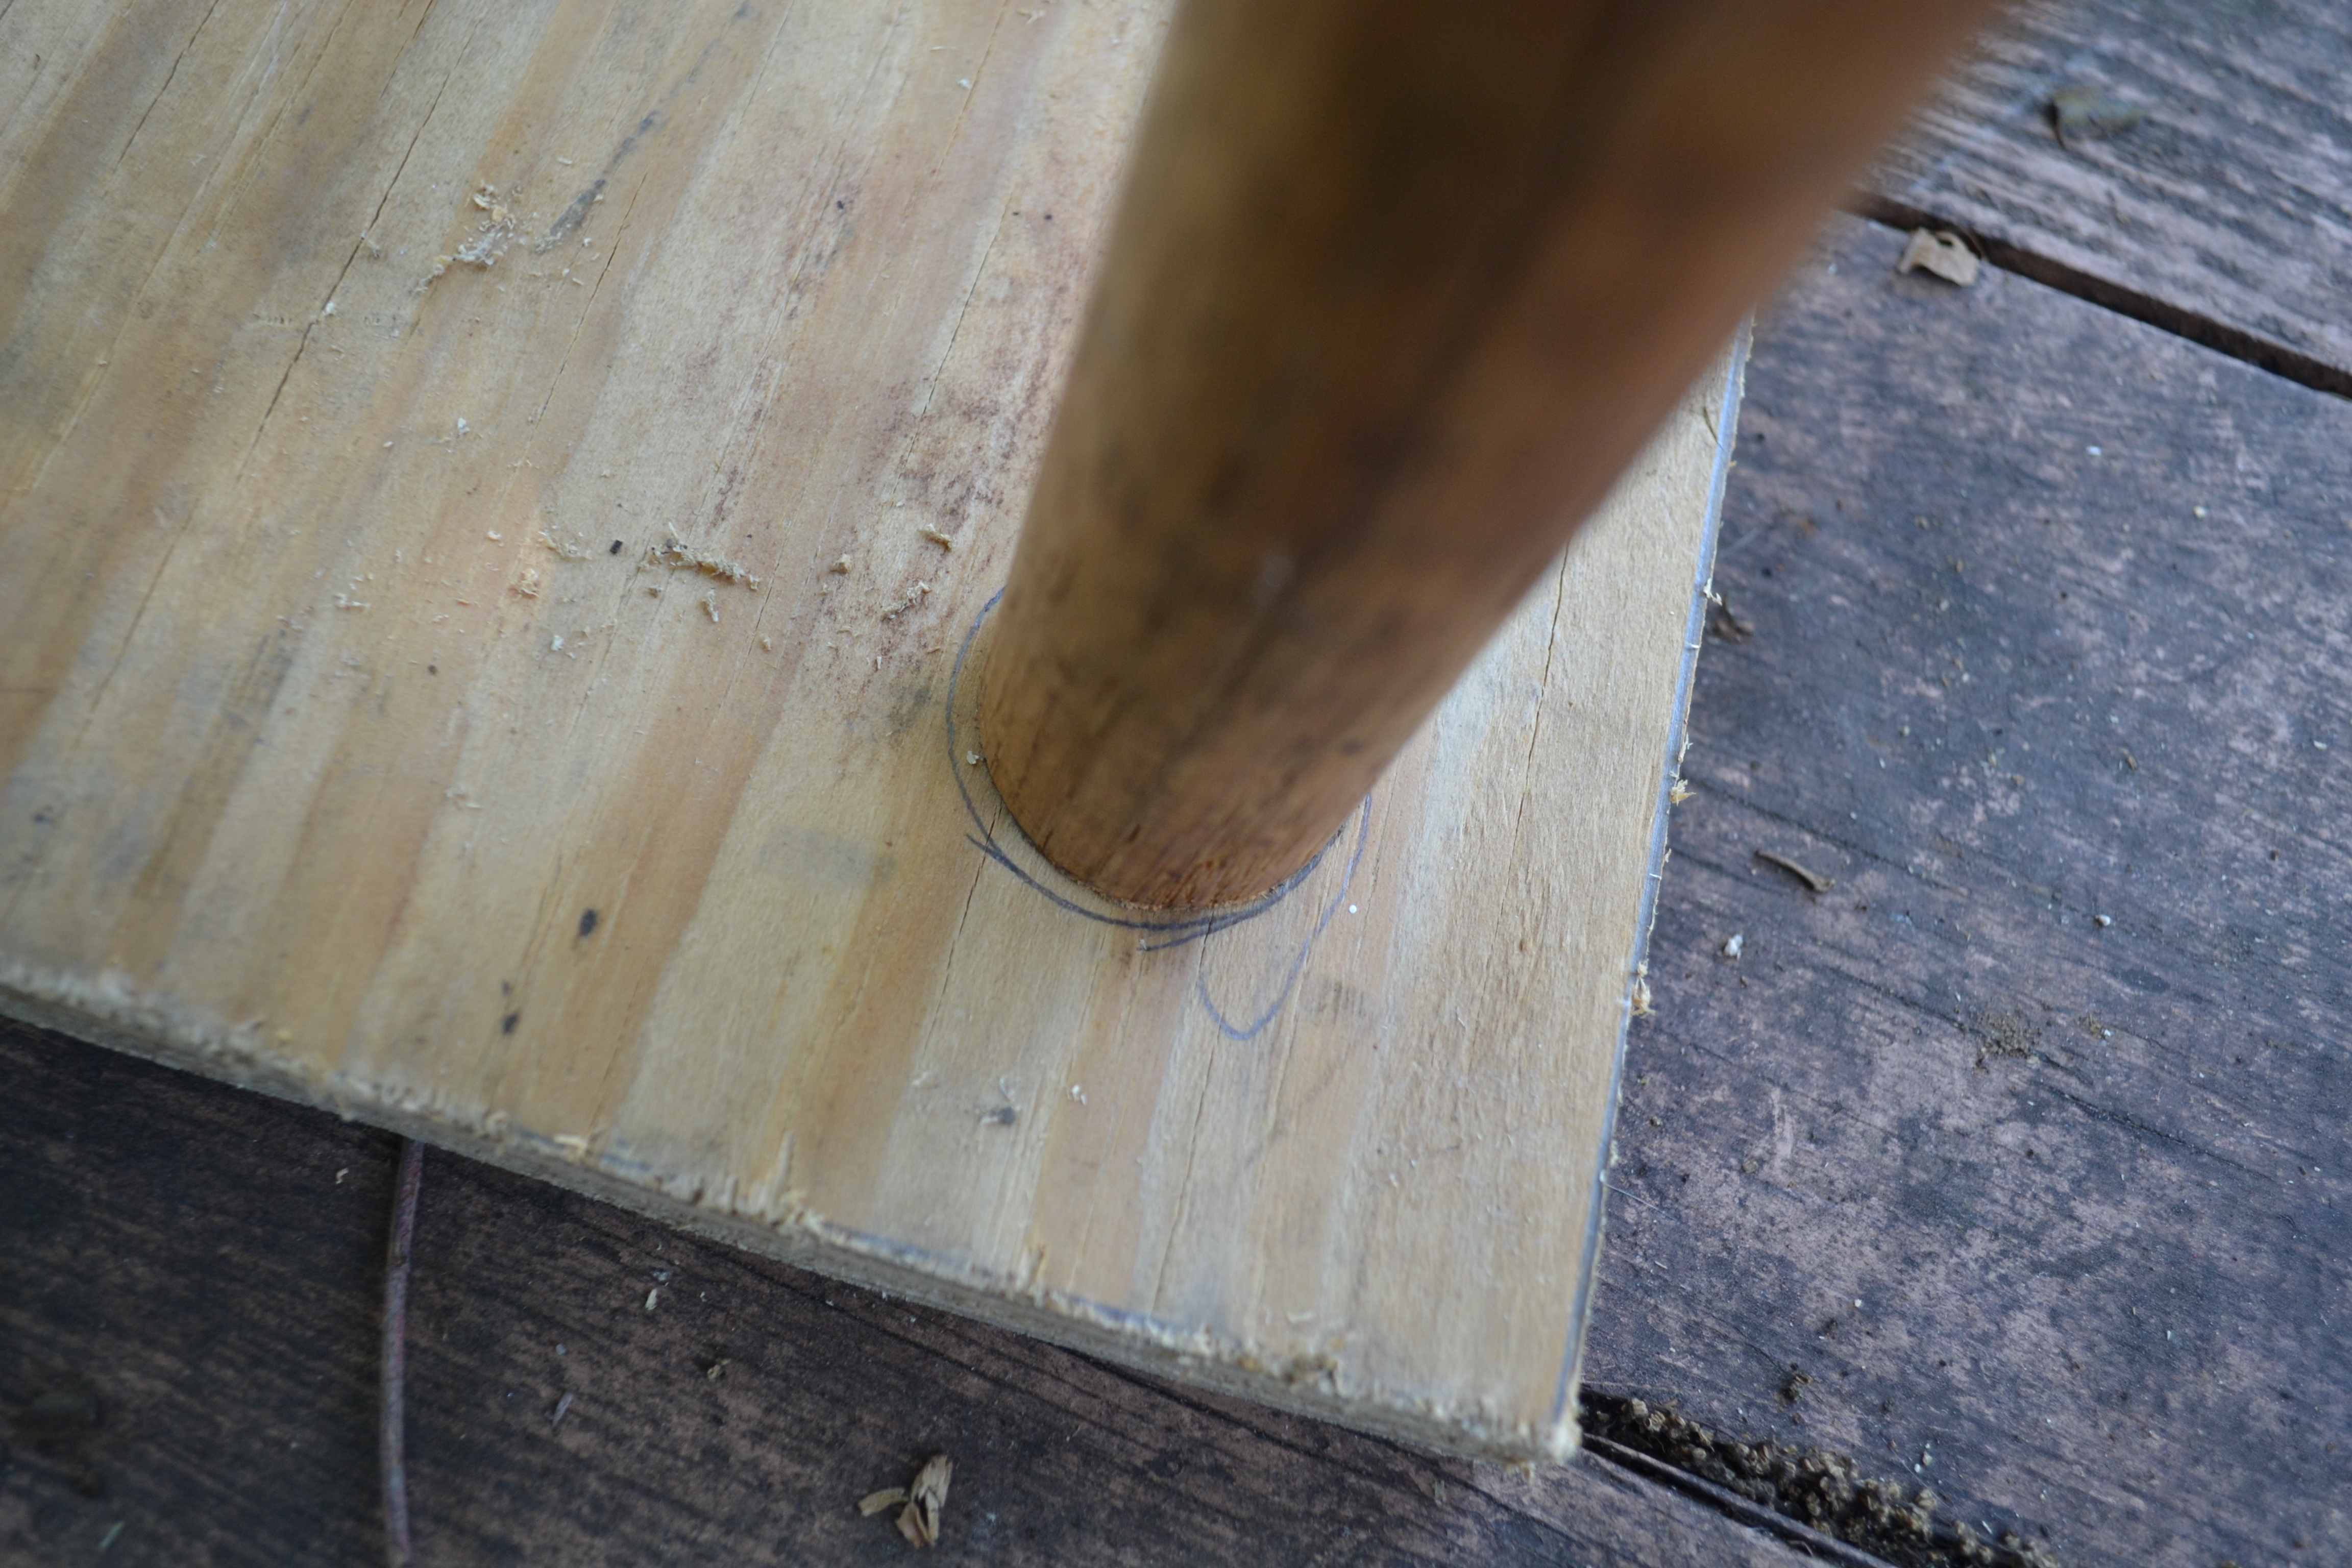
I placed the stool onto the wood and traced circles around the legs to show me where to drill my pilot holes.

Image

I then flipped the wood over, drilled 4 pilot holes and attached it to the base using wood screws.  I wanted to make sure that the piece was going to be stable at this point, so I climbed on top and started dancing like a go-go boy sat on it.  I figured if it could hold my fat ass 180 pounds, then it should be able to hold anything decorative that I sat on it.

Image

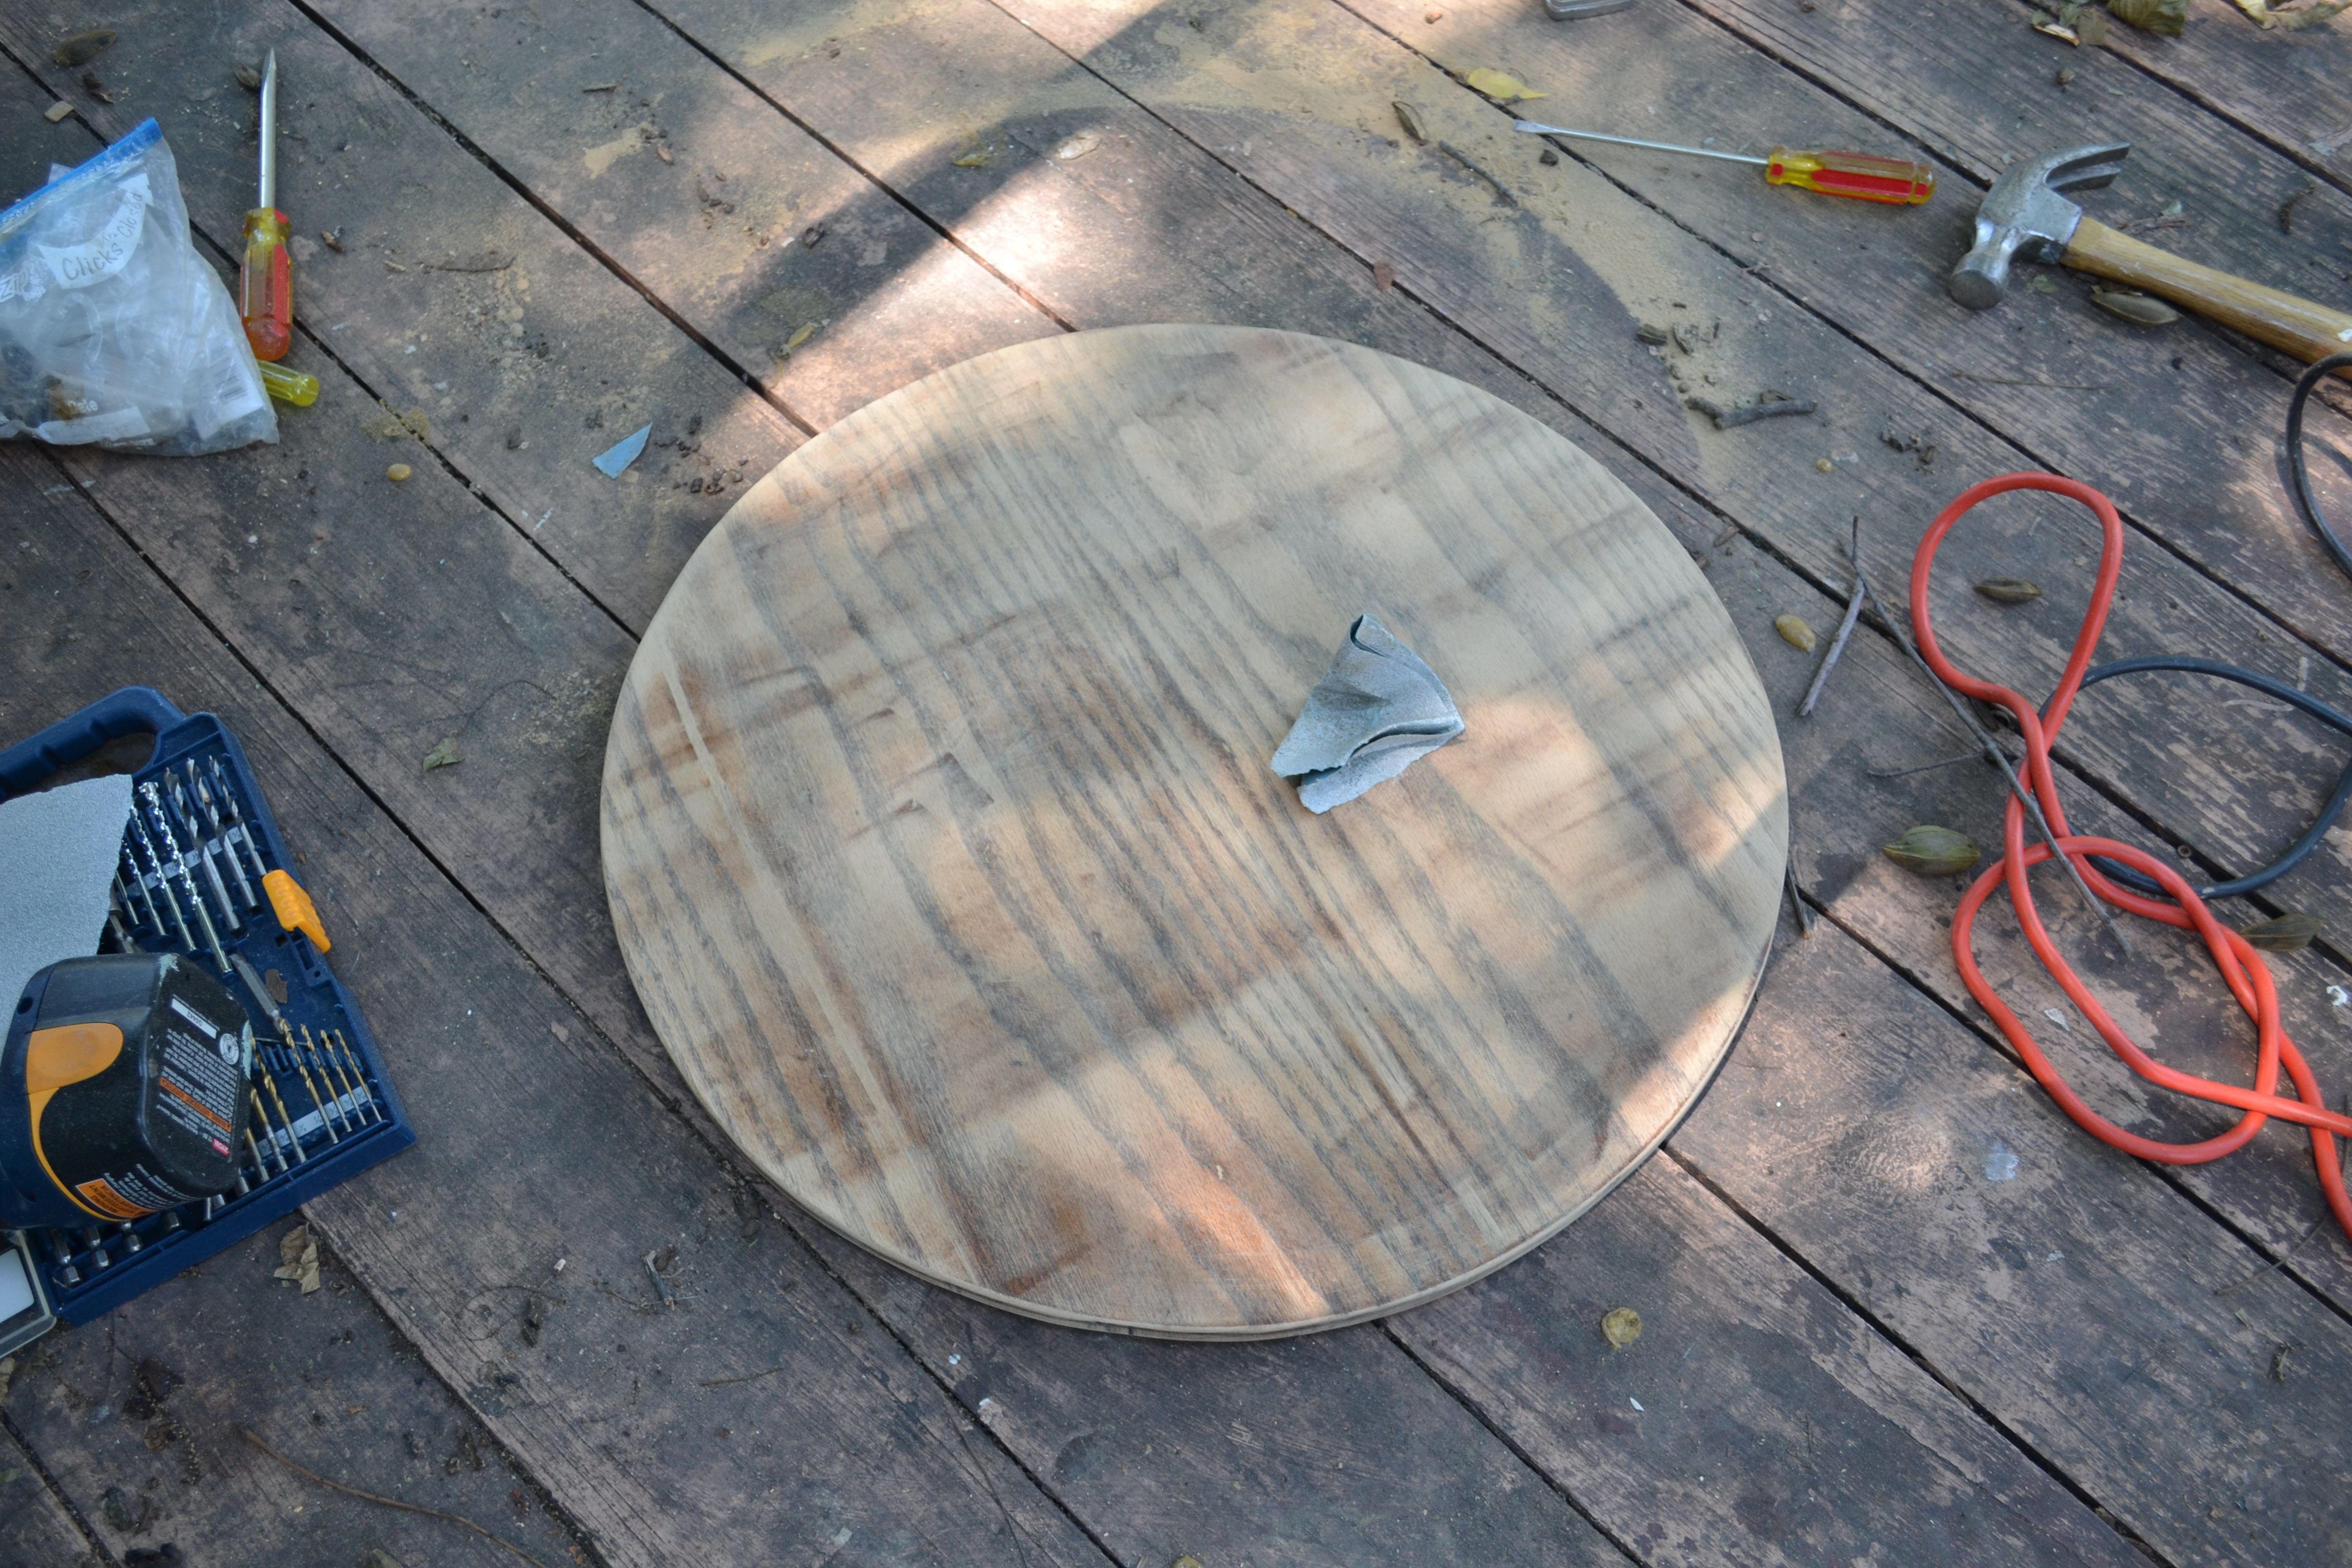
I then sanded the top to get it smooth and ready for the stain that I was going to apply to it.  I know that a lot of my friends are probably thinking, “Has Clif fallen off his rocker.  He usually paints everything all white.  And now he’s adding stain to his pieces?  Are we in bizarro world?”  Well, my uber masculine hubs has been very patient with my whole nauseatingly frilly shabby chic/romantic cottage decorating style that I normally lean towards, but I am trying to branch out and incorporate styles that he will like as well.  This is the reason why I am on this whole rustic chic kick now.

Image

The woman on the blog had also added pieces of wood to the base of the bar stool in order to make shelves.  I thought this was a great idea as it would give me yet another place to display more dust catchers was a good use of an otherwise wasted space.  So I cut wood to fit and then glued the “shelves” into place using Gorilla glue.

Image

The base then got several coats of homemade white chalk paint (thanks, Rachel at Thriftyinspirations.net for the recipe!).

Image

Then the top got stained with several coats of wood stain.

After everything was dry, I attached the top and bottom using more Gorilla glue, and then I ended up with this…

Image

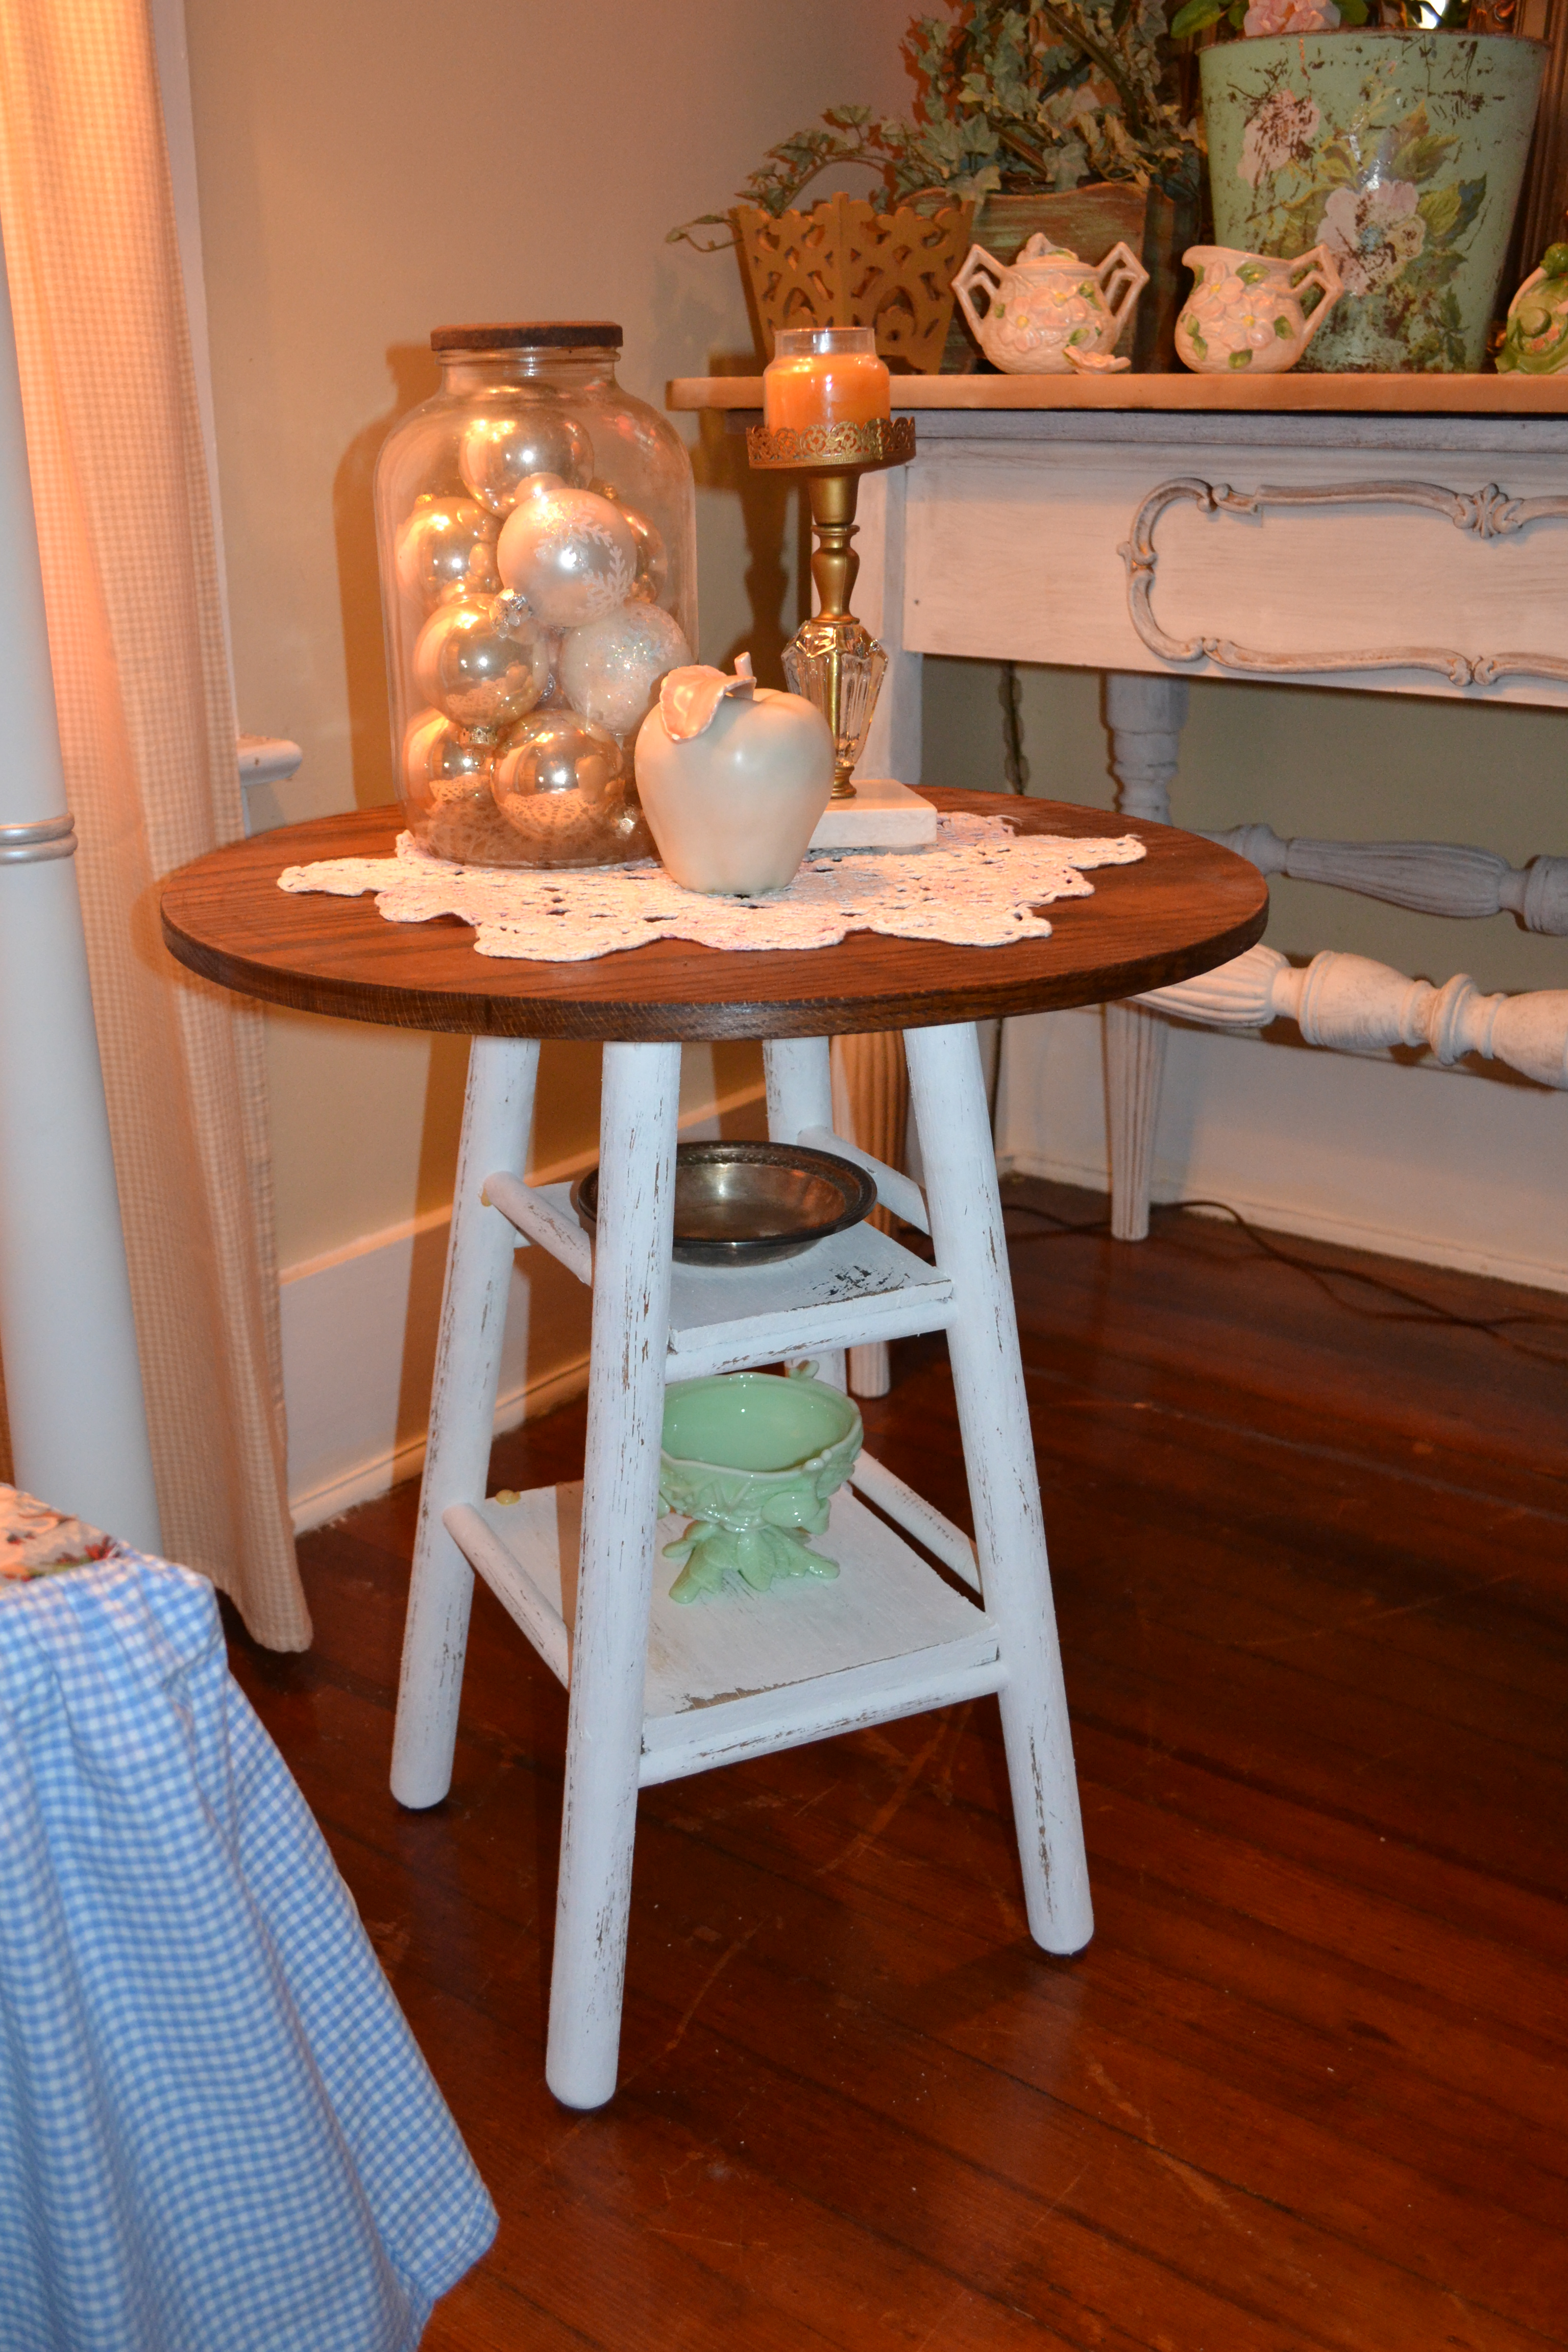
…a rustic chic side table.  What do you think? 🙂


Keep creating,

Clif

From tired dresser to Rustic Chic Fabulousness!

Image

This was how it looked when I found it…yes found it.  A lot of my shopping is done in the back alleys of Birmingham, Alabama where I live with my partner.  As I have more creativity than money, I tend to decorate our home with cast offs and yard sale/thrift store finds.

As you can see the dresser was pretty beat up cosmetically, but in really good shape structurally…well, except for that missing piece on the top right drawer…but that’s one of the things that makes it flawed rustic chic.

Image

Another shot, this time of the top of the dresser.  It had all kinds of fun layers and finishes on it, from black magic marker to various shades of spilled nail polish.  But I saw the potential of this piece for the trash dump as a new buffet in our dining room.  And as I love a good challenge, I set to work.

Image

This is a shot of my state of the art work room  our front porch where most of my furniture transformations take place.  As we live in the deep south, and it’s the middle of July right now, and it’s as hot as the third ring of hell, I have to make sure that my comfort level is kept at its peak by running a fan at all times.  Of course this sometimes poses a problem as the fan blows stray saw dust around…usually into my face…as I am trying to perform a really intricate step in the redo process.  Wasn’t there a song about sawdust getting in your eyes?  No wait, I think that song was about smoke…but I digress.

Image

I knew I wanted to keep the top looking really crappy rustic (minus the marker and nail polish), so I started with it first.  I slathered the whole thing with some paint stripper that I found at Lowes (no I’m not s spokesperson for them…yet), I don’t remember the brand name, only that it was the least expensive (remember we are all about being cheapskates thrifty here at Clif Creations).  After that set for awhile, I scrapped off the majority of it and then used a sander to take off the rest and smooth out the surface.

Image

A few of the drawers were missing hardware, so I had to find replacements for those in my stash.  Next up, was the process of painting…and painting…and painting some more.  I use a version of chalk paint that I mix up myself, using 1 cup of flat white paint and 2 tablespoons of lightweight spackle.  I usually give the pieces about 3 coats each.

Image

This is the body of the dresser with it’s first coat of paint.  To the left you will see my Honda Civic pick up truck that I use to haul all of these fabulous finds home…yes, this dresser was loaded into the back of said car. 🙂

Image

And then, after all of those hours of sweating like a one legged man in a butt kicking contest enjoying being outside in the sunshine, we end up with this, a new rustic chic sideboard for the dining room.  I LOVE how this one turned out.

You will notice the dog gate to the right of the photo.  This is to keep our 4 legged children out of the front of the house, as their design ideas are different then mine, and if I let them, they will re-arrange all of the furniture and hang new curtains when I’m not looking.

Image

Here is a closer view of the dresser.

Image

Another view, showing the top.

I hope that this post has inspired you to now start looking at used and beat up vintage furniture in a new light, and that you will create something beautiful for your own home, or our home, cause we sure don’t have enough furniture in here. 🙂

Keep creating,

Clif

Here we go.

My friends have told me from time to time, “You need to start a blog so that we can see how you do your furniture transformations and your decorating ideas.”  And as they can all be pretty annoying persistent, I guess now is as good a time as any to start one and hopefully finally shut them up make them happy.
I hope that this blog will be informative and helpful, as I try and show how you don’t have to spend a lot of money in order to have a really pretty house, goodness knows I don’t…spend a lot of money…I hope I have a pretty house…or else my advice on here will be pointless. 🙂

So, come along with me as we embark on this journey together…I think it’s going to be a lot of fun!


Keep creating,

Clif